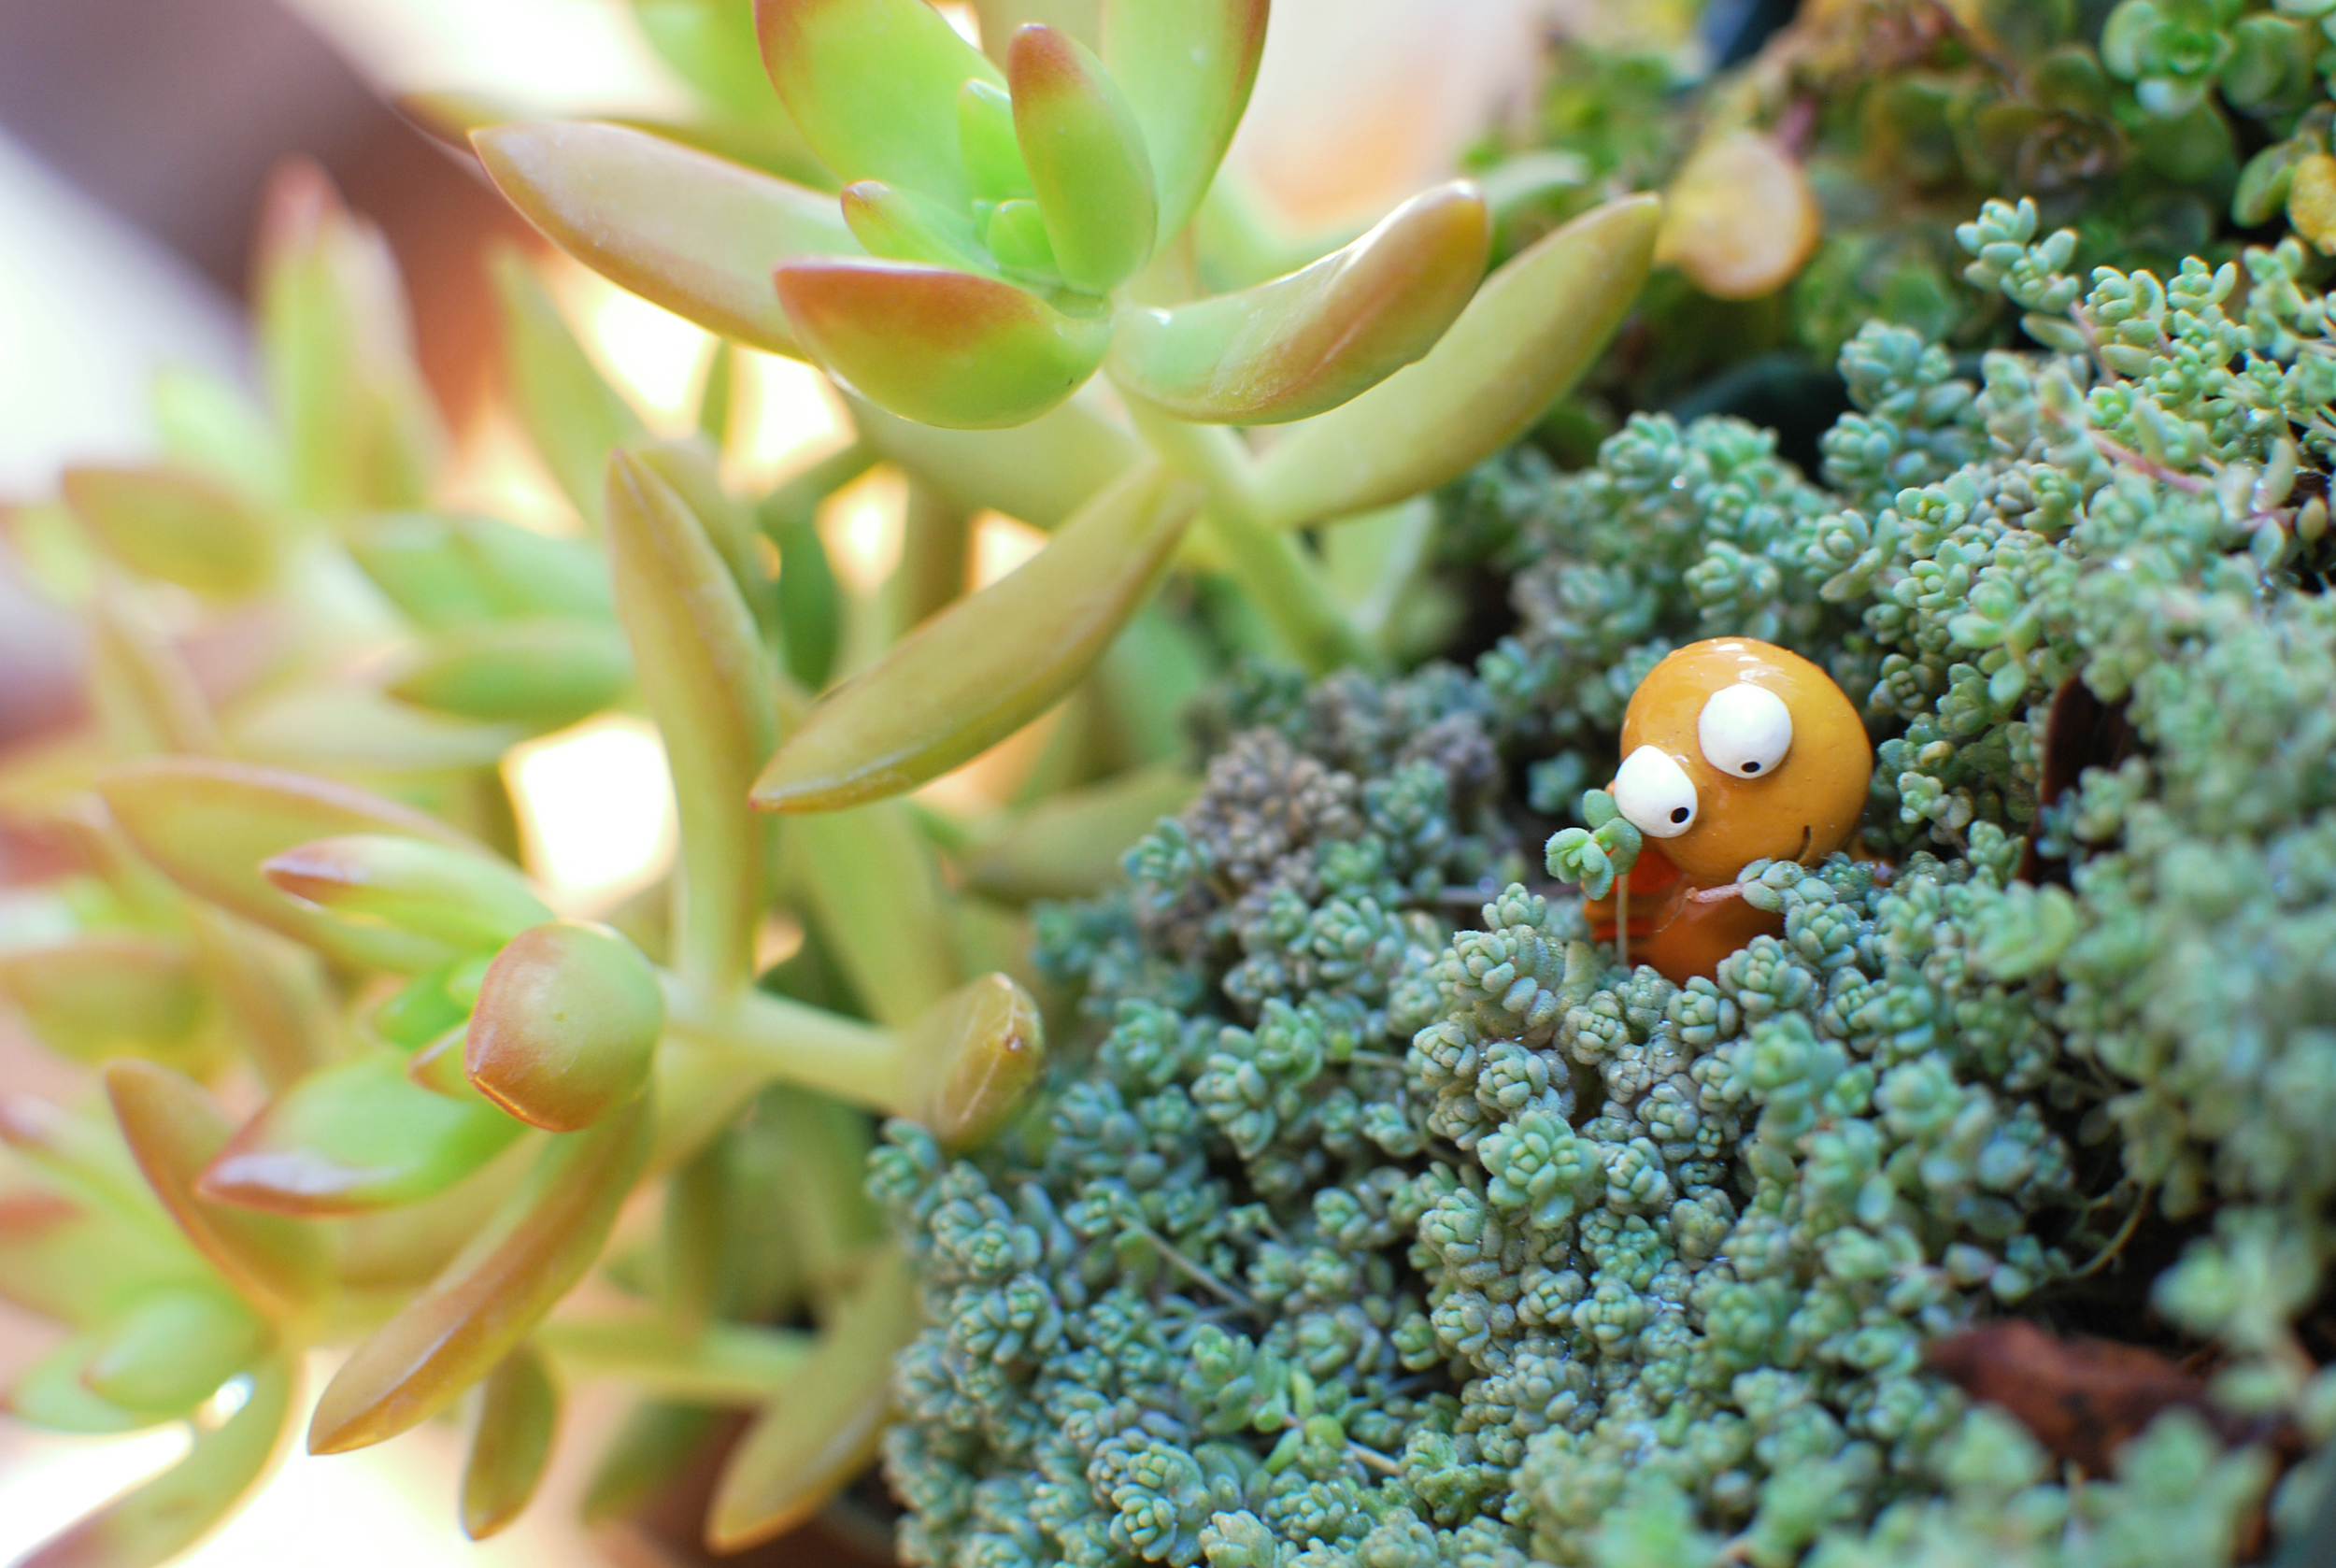
Small succulents from Pike Nursery in Atlanta.
With the holidays right around the corner, we thought this would be a good time to share with you some of our favorite places to pick up plants, and where we find the small ones that you see us use in our planters. Since we're based in Atlanta*, we're most familiar with the places to find plants locally, and we'd like to share our recommendations with you!
Southeast Succulents
at The Collective, 723 Lake Avenue Northeast, Atlanta, GA, 30307
at Whole Foods on Ponce, 650 Ponce De Leon Ave NE, Atlanta, GA 30308
One of our favorite places to pick up the succulents that you see us use for our photos is Southeast Succulents! They sell their succulents at a few places around Atlanta, mainly the Collective in Inman Park and at Whole Foods Markets. In addition to plants, they also sell potting soils for succulents, and other decorative terrarium supplies.

Visiting Gardenhood in the fall.
Gardenhood
353 Boulevard SE, Atlanta, GA 30312
Gardenhood is a nursery that sells a variety of plants in the Grant Park neighborhood of Atlanta. We like to buy succulents there, and they sell a selection of indoor and outdoor varieties. In addition to succulents, you can also find potting soils, garden decorations, and plants for landscaping at this nursery.
Hall's Atlanta Wholesale Florist
630 Angier Ave NE, Atlanta, GA 30308
Hall's is mainly a wholesale florist, but they also sell plants such as succulents (our favorite plants to use for our planters) and house plants. In addition to plants, they also sell other floral items that you might need for floral arrangements or decorating events. If you're shopping for flowers for a wedding or event, stop by here to pick up your flowers and the other vases and accessories you might need!
Pike Nurseries
Several locations in the Atlanta Area
Pike Nurseries is an Atlanta based chain of nurseries. While most people know them for their large selection of landscaping plants, they also carry a large variety of succulents and tillandsia (air plants).
If you have any nursery recomendations here or in other cities, please let us know and we'd love to share them!
*As a note, this list is not comprehensive of all of the places to find plants in and around Atlanta, but these are the businesses that we know and recommend. If you have another business to recommend for this list, please let us know! Also, large chain stores are not included in this list, only small and Atlanta based businesses. Larger stores will be included in a later post.